

Originally posted on https://www.surgewomen.io/learn-about-web3/set-up-metamask-wallet
As you begin to explore Web3, you will come across several sites that ask you to “connect your wallet.”
A cryptocurrency wallet is an essential tool you will need to interact and navigate the decentralized web. In Web3, there is no longer a need to create a username and password for each site you visit. Instead, you have a wallet that is used to manage your funds and access Web3 enabled sites and apps.
What is Metamask?
Metamask is the most popular wallet used to interact with the Ethereum blockchain today.
It is available as a browser extension and mobile application. Ethereum wallets have the ability to store, send, swap and receive digital currencies and NFTs.
Metamask has additional features, such as the ability to purchase Ethereum-based tokens (also known as ERC-20 tokens) with your debit card or bank account and the ability to swap one digital currency for another. Metamask is a great place to start interacting with the network, but you’re always free to transfer your funds to the wallet provider of your choice.
Getting Started
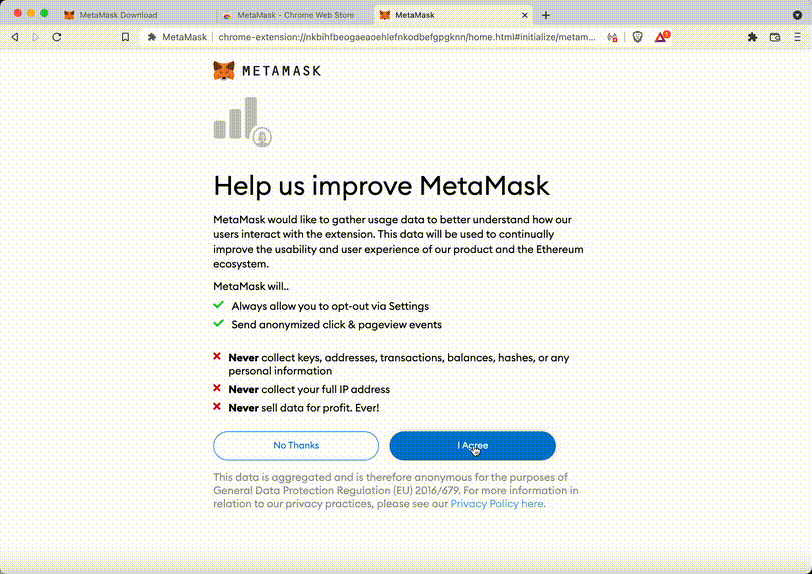
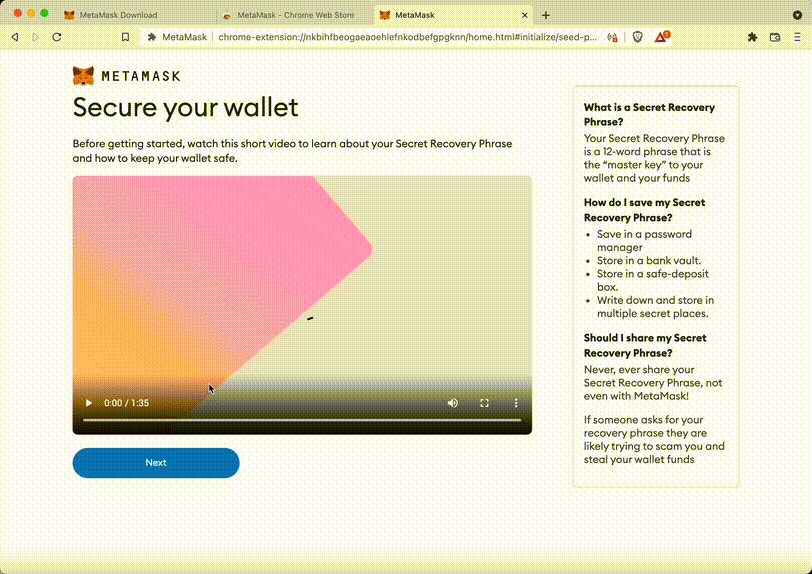
Setting up a Metamask wallet only takes a few minutes. All you need is your device, a pen and a piece of paper. We recommend doing this somewhere private where no one can see your screen.
-
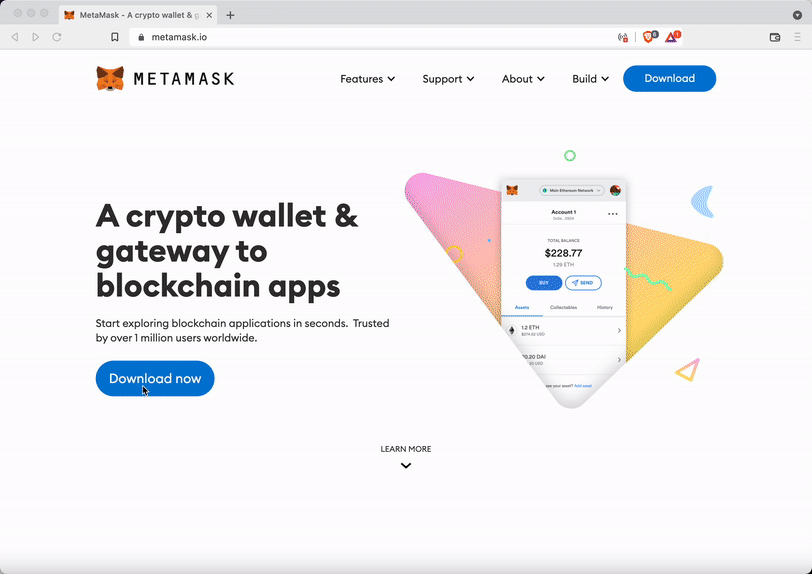
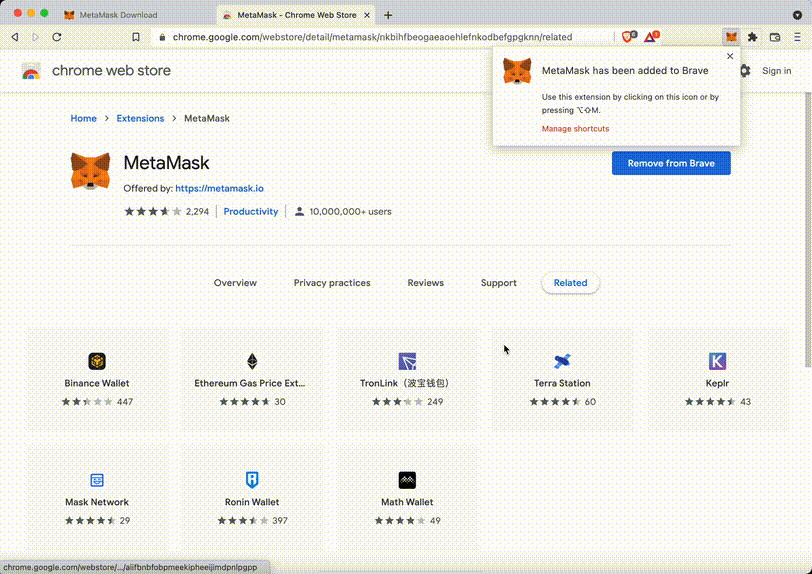
Visit metamask.io and install the extension for your browser. Metamask is supported on Chrome, Firefox, and Brave.
2. Begin the process by selecting “Create A Wallet.”
3. Create a strong password with a minimum of 8 characters.
4. Click the blurred box to reveal your secret backup phrase. These 12 words are your seed phrase which should be written on a piece of paper. Never store these words electronically. Anyone who gains access to your seed phrase can control your assets.
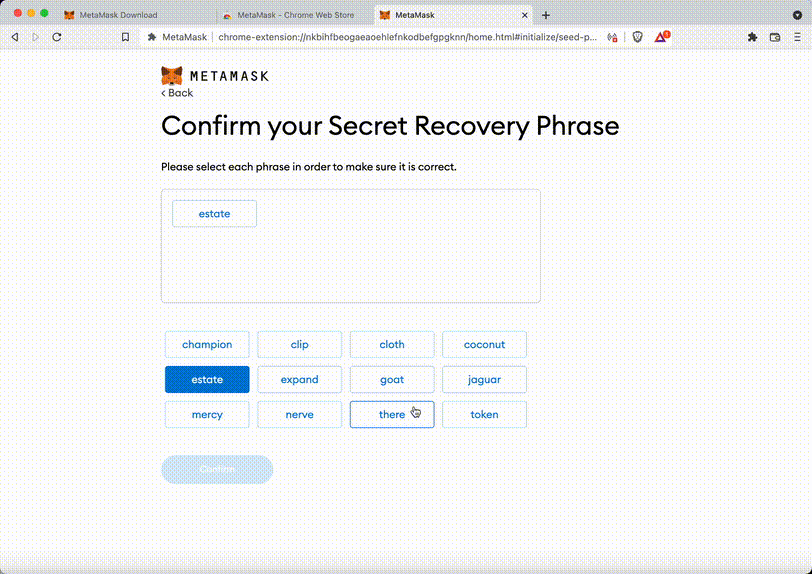
5. Confirm your secret backup phrase by selecting the words in the order you wrote them.
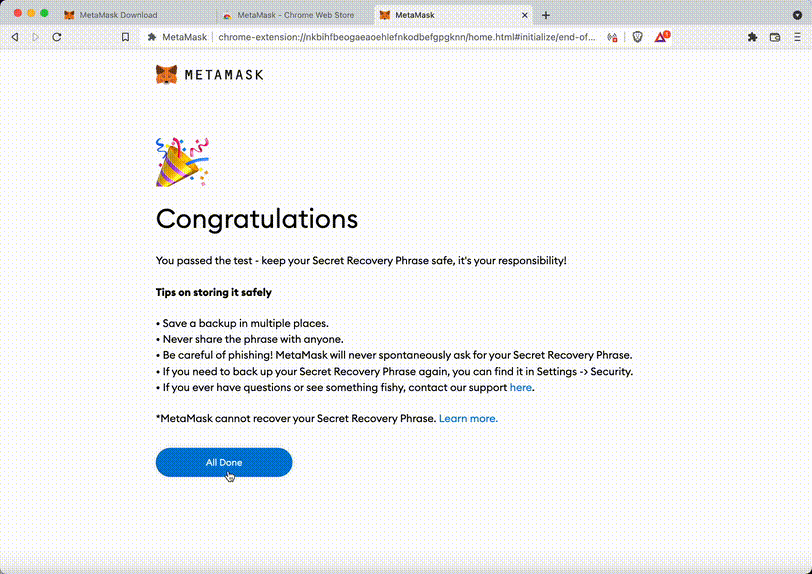
6. Congratulations! You’ve successfully set up your first Ethereum wallet. Make sure to pin Metamask to your browser for quick and easy access.
Navigating Your Metamask Wallet
Where to find your public address, assets, and transactions.
-
Your public address which is used to send and receive digital currencies and NFTs can be located under your account name (Account 1 in the example). Clicking on the account name copies your public address to your clipboard.

2. Your digital currencies can be located under the “Assets” section. This is where you’ll find your ETH and other Ethereum-based tokens.

3. Your pending transactions and transaction history can be located in the “Activity” section. This is where you can view the status of your transaction (pending, confirmed, or failed).

Buying, Sending, and Swapping Digital Currency on Metamask
With an Ethereum wallet, you can buy, send, receive and swap Ethereum-based tokens. To process these transactions, you will have to spend a network fee, also known as a gas fee. Gas is the fee paid to the blockchain’s miners for providing computational power and keeping the network secure and running. You can think of Ethereum gas in the same way you think of gas for your car. Just like you’ll need enough gas in your car to reach your destination, you will need enough gas (paid in ETH) to complete your transactions on the network. The busier the network is, the higher the gas fees become. Make sure you have enough ETH in your wallet to cover gas, or your transaction will fail. You should always check gas fees before beginning a transaction so you can plan accordingly.
Purchase
To purchase ETH using your debit card or bank account, click the “Buy” button and fund your account using Wyre or Transak.


Receive tokens
To receive tokens in your Metamask wallet, provide your public address to the sender. You can also use this public address to send yourself ETH from a cryptocurrency exchange.
Send tokens
To send tokens to another address, click the “Send” button and enter or paste the public address of the recipient.

Swap tokens
To swap one token for another (e.g. USDC to ETH) click the “Swap” button, select the tokens you would like to swap, and review it before submitting the transaction.


Protecting your Metamask wallet
Now that you know your way around your Metamask wallet, there are steps you must take to keep your wallet safe.
1. Secure your seed phrase
During the initial wallet setup, you were asked to write your seed phrase on a piece of paper. These 12 simple words represent ownership of ALL the assets in your wallet. Unlike your accounts in Web2, you cannot reset your seed phrase. It is essential that you protect your seed phrase and NEVER give it to any person or site that asks for it. Losing your seed phrase means losing access to your assets. Anyone who gains access to those 12 words can take away your funds. The only time you will need your seed phrase is if you lose access to your browser and have to set up your wallet again.
2. Use Metamask with a hardware wallet
A hardware wallet (also known as cold storage) keeps your seed phrase offline and off your computer, making you less susceptible to malware and attacks. Although Metamask is a secure and trusted wallet provider, it comes with some risks since it is connected to the internet. To boost your protection, you can use a hardware wallet in combination with your Metamask wallet. Using a hardware wallet with a Metamask wallet requires you to plug in the hardware wallet and verify each transaction on the device. This makes it more difficult for hackers to steal your assets without access to your hardware wallet. If you’d like to learn more, stay tuned for a detailed guide on hardware wallets.
3. Be aware of scams
There is an increasing number of scams out there that attempt to steal cryptocurrencies and NFTs. Be aware of fake support teams reaching out, offering to send you money or asking for your seed phrase. Since you have complete control and ownership of your wallet, you also have the responsibility to keep it safe. Metamask cannot help you recover your wallet. Always double check the URL of the sites you are visiting.
What’s next? Your Metamask wallet is all set up and you’re ready to start exploring the decentralized web! You can check out NFTs on Opensea, get an ENS domain (“yourname.eth”) for your wallet, or publish a blog post on Mirror, just to name a few. As always, we’ll be here to guide you through your journey down the Web3 rabbit hole.
Related Posts

What is Financial Independence?
What is financial independence and what are the 3 building blocks? Read more to…

Earnings Winners Are The Future of A Certain Trade, Hasnae Taleb Says
On Monday, Dubai TV has hosted Hasnae Taleb, a young entrepreneur and investor,…
